Wednesday, September 22, 2010

Custom Pickups!

build pickups to your personal specs!


Pickups have a lot to do with the sound of an electric guitar and how it behaves through an amp and they are usually one of the first places guitar makers cut costs when they are designing entry-level guitars.  That's why pickups are the first thing you upgrade when you're searching for better tone, and they are usually much cheaper than buying a better guitar.
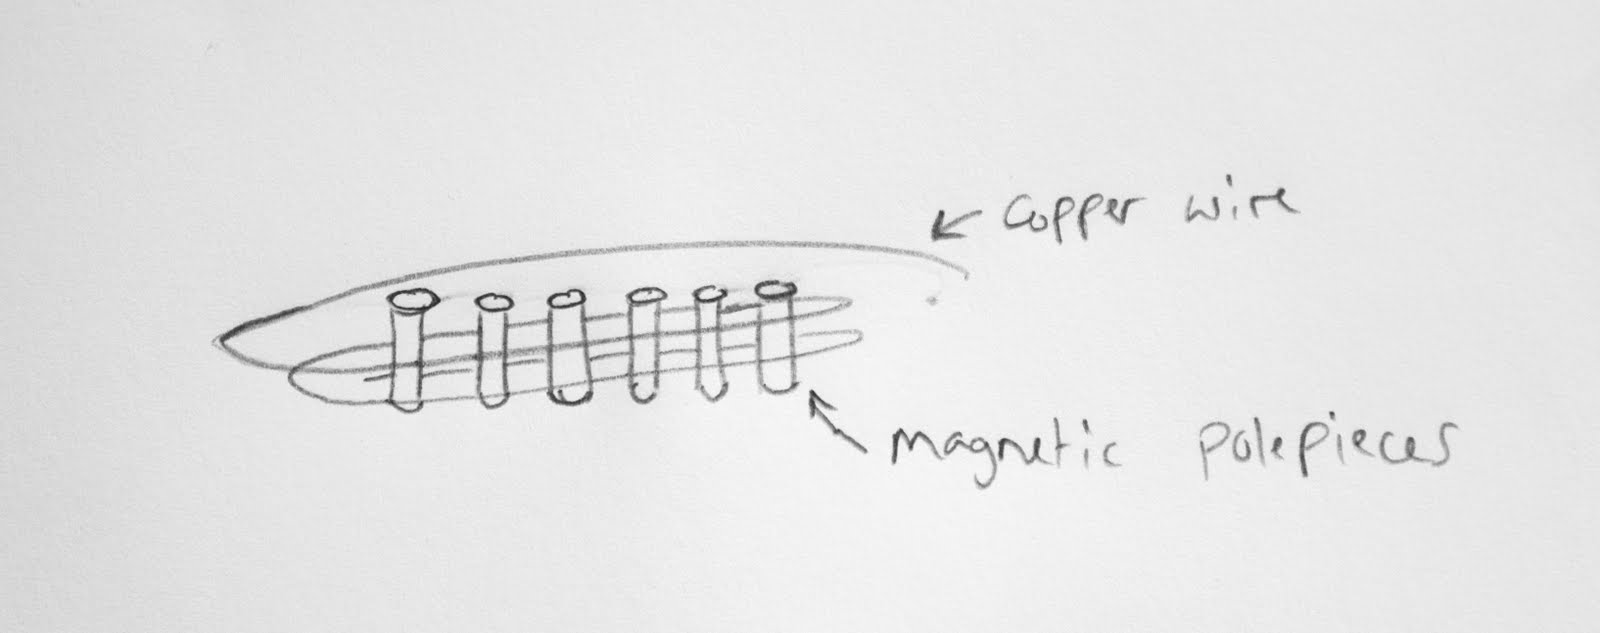

They simply consist of magnetic polepieces wrapped in thousands of winds of copper wire.  The type of magnets and wire obviously have a lot to do with the tone, but so do the winding style, number of winds, and type of material used to pot them (see: wax potting).  Below you will find a short list of what goes into building a pickup and the effect it has on the tone.  All of these components are ones that were used on early Gibson and Fender pickups to produce the legendary tones that they are famous for today.  I tested all of these different materials and methods myself with the pickups I built as well as consulted the fine people at SF Guitarworks and Mojotone to come to the conclusions that I made.  Read through this short list before ordering your new set of pickups through our website and you'll be a pickup expert too. 

Magnets

Alnico V-  by far the most popular magnet for vintage-style pickups.  Drives your amp harder to break up sooner, lowers headroom.  Tight punchy lows, low to moderate mids, singing highs.

Alnico III-  the brightest of the alnico magnets.  Lower output than Alnico V.  Used in very early Teles and Strats from the 50's.  Nice round highs and a strong midrange with good bite.

Alnico II-  spongy attack.  Smooth highs and strong mids. Lower output than Alnico V.  Used in Gibson PAF humbuckers and some P-90's.


Wire

Formvar- common in vintage Fender pickups.  Warm and smooth sounding.

Single Build Plain Enamel- also used in many vintage Fender pickups, useful when squeezing a maximum number of winds on the coil.  Aggressive and sharper on the bass and treble response.

Polycoated- darker sounding overall.  Great when used in high output pickups for smoothing out harshness.

Construction Techniques

Scatterwinding- All of our single coil pickups are scatterwound, it is widely known in the pickup building world that scatterwinding is the best technique for building pickups because of the increased clarity and response to subtle details.  It really opens up the sound.  For more information see my blog entry on Scatterwinding.

Overwinding by 5%- some blues and rock players prefer pickups that drive their amp harder for more breakup through the amp.  Overwound pickups also produce 5% more bass and 5% less treble.  The high strings will sound fuller and sweeter but the wound strings will sound darker.

Underwinding by 5%- If clarity is your goal then underwinding is ideal.  It produces 5% less bass and 5% more treble and makes your wound strings sound clearer.  

Wax Potting-  If you are using gain or excessive volume in your rig it is highly recommended that you order your pickups with wax potting.  The hardened wax holds the windings together to keep them from vibrating against each other and causing feedback and microphonics.  On the contrary, early Fender pickups were not wax potted and some are regarded as being some of the best sounding in the world, pickups without wax are generally more open sounding.  For more information please see my blog entry on wax potting.  All of our pickups are wax potted unless otherwise stated.

Staggered/Flat polepieces-  Most modern pickups are staggered to compensate for fretboard radius and varying string-to-string balance in volume.  You may opt for flat polepieces in your setup.  Most Telecaster bridge pickups have flat polepieces and they sound just fine.  All of our pickups have staggered polepieces unless otherwise stated.

Beveled Polepieces-  beveling the edge of the polepiece makes them look a little nicer.  Some say that it smooths out the tone of the pickup as well.  All of our Stratocaster, Jazzmaster, Jaguar, P-Bass, and Jazz Bass pickups have beveled polepieces unless otherwise stated.

Monday, August 16, 2010

Trick/Retro Tele

A classic guitar with a few trick modifications


We just finished this demo Telecaster that will make its home in Gary Brawer's repair shop in downtown San Francisco.  If you would like to try this baby out, just visit Gary's shop in the back of Real Guitars, 15 Lafayette St. (at the corner of Mission).  


It was designed much like a 50's Reissue, with lightweight swamp ash body, vintage-style three saddle ashtray bridge, and a maple neck from a MIM Fender Telecaster.   The body was made completely from scratch from a nice piece of ash from Stewart Macdonald.  I wanted to forgo the pickguard and really let that beautiful wood grain show through, so I decided against the common routing in the body for the wiring that typically hides under the pickguard.  The wiring in this guitar is routed through a small hole starting at the neck pocket and ending in the control pocket. With amber stain and a thin coat of waterbased varnish this guitar is a real beaut!


Trick electronics include our hum-canceling bridge pickup to get rid of that pesky 60-cycle hum, and a 4-way switch so that you can play with the two pickups wither in paralell (standard Tele wiring) or in series (more output, fat sound).  The neck pickup is a special custom creation of mine that has the perfect balance of trademark "bell" tone, shimmering highs, and voice in the lower mids.  The electronics are topped off with a pair of vintage "chickenhead" volume and tone control knobs I found at a yard sale.  


Tuesday, August 10, 2010

The hum-canceling Telecaster bridge pickup

single coil sound with the ability to "buck" hum!

Anyone who plays a Tele knows that they are vulnerable to interference and thus create a lot of hum through the amp.  Single coils naturally create a 60 cycle hum and there is no way around that.  Some companies offer solutions like samamium cobalt noiseless pickups, or stacked humbuckers, but usually at the cost of tone.  Some guitars with two pickups can be wired out of phase to cancel hum between the two pickups, but on a Telecaster even the middle position on the pickup selector offers no hum-canceling effect.  That's because both coils are wound counter-clockwise and the poles are charged North-up, partly because hum-canceling technology was non-existent in the 50's and partly because that middle position tone has become such a trademark of the Tele tone.

One of the best ways to combat hum and still keep the single coil tone is to have a split-single coil wired out of phase, like a P-Bass pickup.  What I have created here is essentially a P-Bass pickup that looks and sounds like a Telecaster pickup.  One coil is wound counter-clockwise and is charged North up and the other is wound clockwise and is charged South up.  They are then wired out of phase to cancel hum.  All of the normal Tele characteristics like a copper-plated steel baseplate, cloth-covered leads, and vintage-style flatwork are included.  I don't want to give the impression that I was the first one to do this, but this is not something you can just walk into Guitar Center and buy.  They are wound to 7k and are available for Teles for $125 each.  Contact me here to order yours.

Tuesday, July 20, 2010

Giving metal parts that "antique" look

How to age metal guitar parts quick!


I don't know about you, but when I go into a guitar shop I'm always instantly drawn to the rack with all the used gear.  Maybe it's because the beat-up instruments carry a certain mystique, they all have a story to tell.  I want to ask them, "where have you been?" "Who played you?" "Have you been all over the country, or all over the world?" "How long have you been around?" "Have you been in any fights over the years?"  Only the people who owned them know the answers to these questions, and they may be long gone.  When I look at these guitars I get the same feeling I did when I was a kid and I would dig around in the dump full of antiques that was behind my parents house in Maine.  I would find some old farm equipment, or a piece of an engine, or even an old Coke bottle and just stare at it for hours and make up all kinds of stories in my head.  So I think a guitar with some character is a little more interesting than all the shiny turds that were spit out of a factory somewhere overseas.

The first step to giving a guitar some character is rust.  Some people might cringe at the idea of intentionally rusting their precious guitar, but it is fairly easy to do and doesn't effect the playability of a guitar.  You DO NOT, however want to intentionally rust parts that effect the adjustments like action and intonation, for example, tuners and bridge adjustment screws!  So how do you make rust?  Salt!  If there is one thing I learned in Maine it's that salt will rust your car faster than anything.  In the winter they salt the roads to melt the ice, it's good for the traction, but bad for the cars.  You would be lucky to find any cars over 10 years old still on the roads in Maine.


So to rust my metal guitar parts I first remove them from the guitar and put them on a piece of plastic or in some sort of container.  I mix a couple teaspoons of salt with some warm water and mix it up with a paintbrush and then brush it on the parts as if it was paint.  Then I simply leave them outside and let Mother Nature do the rest.  I let them sit there for a couple of days and really let the elements beat on them, reapplying the salt water mixture as needed. 


In a couple of days I rinse off the parts with water and dry them with a paper towel.  Now my guitar has the look of one that's been played, sweat on, and beaten up for years!

Wednesday, May 26, 2010

the $20 homemade acoustic guitar pickup

How to make your own acoustic guitar pickup for cheap.  This way you can plug your guitar into a PA or an acoustic guitar amp.

Required tools:
soldering iron
electric drill
wire cutters
coping saw

Required parts:
buzzer piezo from Radio Shack (The Shack) $9
Switchcraft Nickel End Pin Jack $11
3M double-sided poster tape
1 foot of audio cable


Optional parts:
250k potentiometer
capacitor
guitar wire


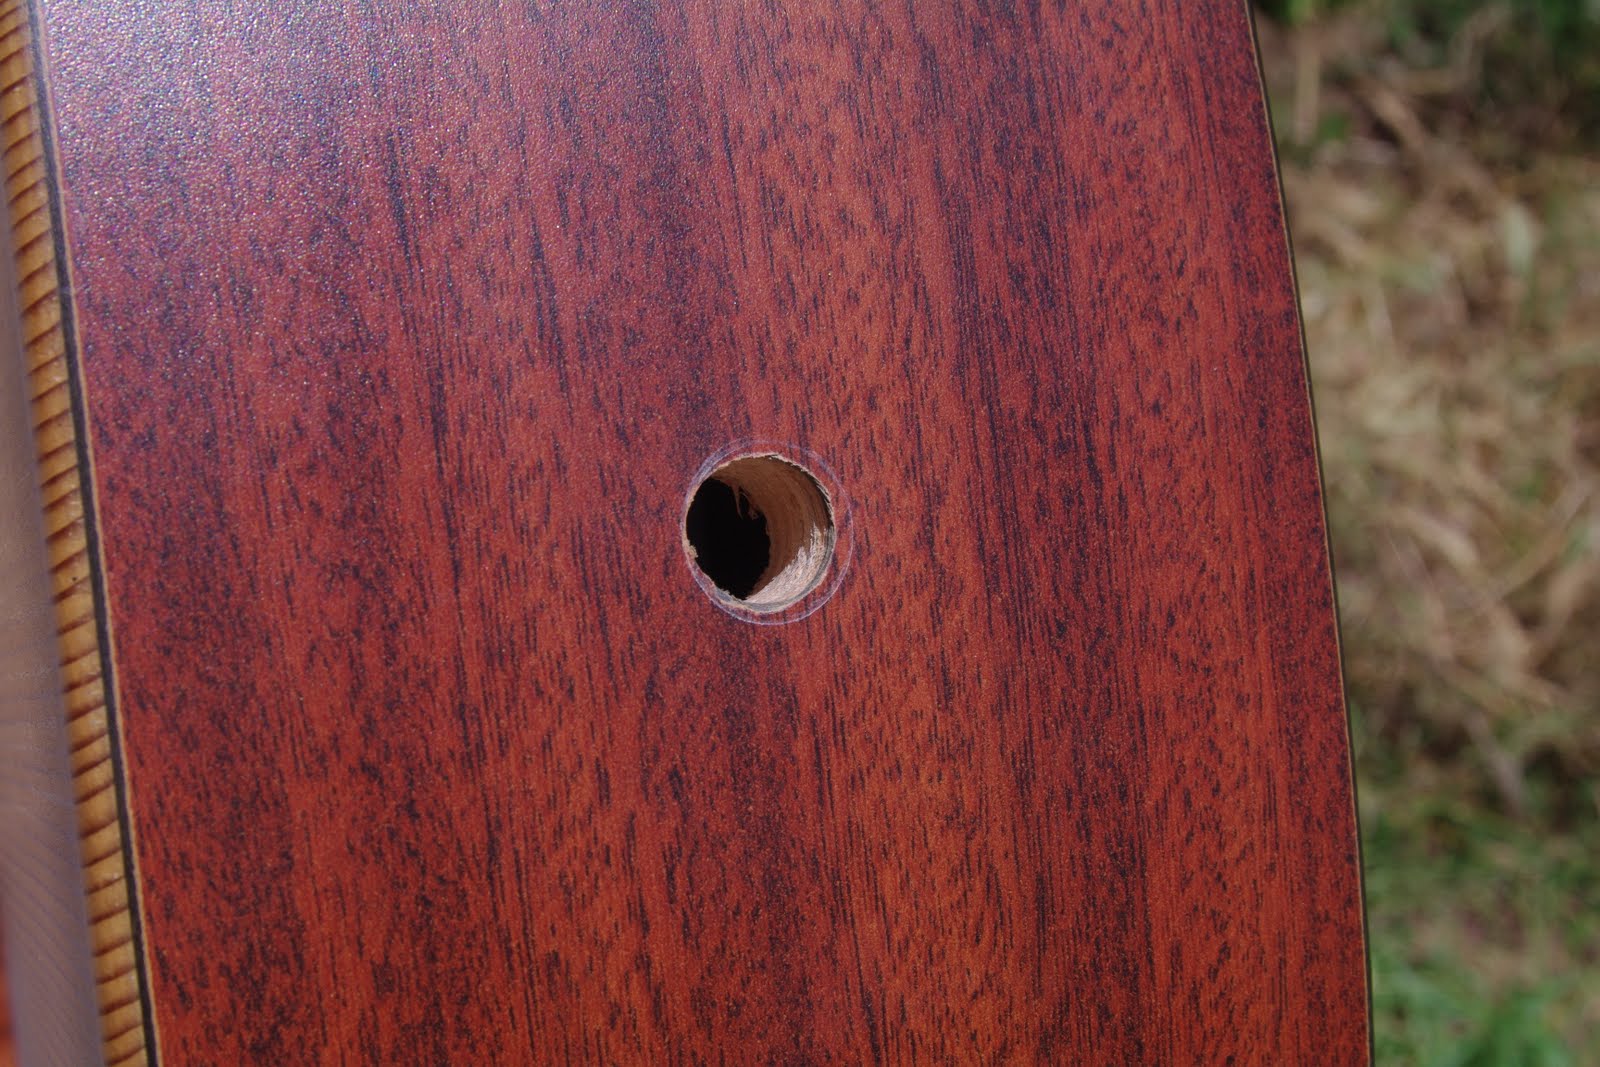
1.  Remove the strings and drill a 1/2 inch hole in the bottom of the guitar where the strap button is.  The nice thing about the Switchcraft jack is that it acts as a jack AND a strap button.  Be careful when drilling not to damage your guitar.


 2.  Take apart the buzzer.  This might require a coping saw to get through the plastic casing, careful not to damage the flat metal piezo.

3.  Solder one end of the audio cable to the piezo.  Positive is the top ring, negative (or ground) is the large bottom ring.   The two plates are separated by crystals, when given a current the produce a noise, when given a vibration they produce a current, we will be using the piezo for the latter.


4.  Solder the other end of the cable to your jack, positive is where the tip connects in the jack, negative is the sleeve or ground.


5.  By nature, the piezo is a very bright-sounding pickup for an acoustic, so we'll be using some 3M double-sided poster tape to attach this thing to the underside of the bridge.  Because it is made of thick foam it dampens some of the brightness.  Stick a piece of it to the top and bottom of the piezo.  Mount the bottom of the piezo to the underside of the bridge.  Then install the jack in the bottom of the guitar.


You could use the pickup just the way it is, but I chose to have a tone control to get a little warmer sound out of it.  Use the following wiring diagram to solder a tone control into your circuit (advanced skills required)


I chose not to drill another hole in my guitar for the tone control so I used some more of that poster tape on the back of the tone control and stuck it just out of sight in the sound hole, if I need to adjust tone at any point I can just do it with my fingertips through the sound hole.


Reinstall the strings and test it out!!

Thursday, May 13, 2010

What is 'scatter-winding' anyway??


Many high-end pickup manufacturers like to boast (myself included) that their pickups are "scatter-wound," but many people don't really understand what this term means.  In fact the whole art of winding pickups is quite foreign to a lot of people, even if they play guitar.  Quite simply, scatter winding is a method of making pickups that results in a unique and beautiful sound.  In this post I'll take a stab at trying to explain the principles of this method.

All electric guitar pickups use the same basic design, they are simply magnetic polepieces wrapped in very thin copper wire.  The polepieces generate a magnetic field that the string vibrates in, and the copper coils turn that vibration into an electric signal. 

In the '50s, electric guitars started getting extremely popular.  Humbuckers, used primarily in Gibson guitars, used a uniform wind made on a machine; and single-coils, used primarily in Fender guitars, used a scatter-wound coil made by hand.  Technically you could use either method for either type of pickup, but it is widely believed that single-coils sound better scatter-wound.  Tension also matters when winding a pickup, looser winds typically sound clearer and better.

When I first started winding pickups I didn't understand that the way in which you wind the pickups actually has an effect on the tone.  It made sense to me that the quality of wire you use, the number of turns, the quality of the magnets, and the strength of the magnets all played a part in the overall tone.  But I figured you would need some sort of ultra sensitive computer to hear if they were scatter-wound or not.  I made a couple of pickups by just guiding the wire back and fourth in a very even manner.  I made a couple variations of these and tested them, then I made a set of pickups using a scatter-winding technique.  The first thing I noticed was that the resistance (electrical output measured in ohms) of the pickup had dropped significantly.  When I installed them and tried them out I was amazed!  I was hearing details that I had never heard before, there was more treble and harmonics than I had heard from my earlier pickups.  The video below shows me scatter winding a pickup.  The wire is as thin as a human hair so you can't really see it, but you can see how my hand is moving to get an idea of how it's done.  It also helps to be blasting Pink Floyd while you're doing this for 15-20 minutes per coil.

When coils are wound on a machine, each consecutive wind is very close to the last wind.  when you scatter-wind a pickup the idea is to put lots of space between each consecutive wind, this lowers the distributed capacitance of a pickup so that more treble and detail get through.  Your tone control on your guitar has a capacitor on it, as you turn that control counter-cockwise it uses more and more of that capacitor to bleed off highs to the ground, and the result is you hear a darker guitar tone.  Scatter-winding does just the opposite, it gives the pickup more treble.  This sounds really good on single coils because they have a very open sound to begin with, extreme highs and extreme lows, a lot of the guitar's natural tone and character comes through.

When I'm scatter-winding a pickup, I try not to follow any sort of pattern and I move the wire randomly across the bobbin.  Machines are not good at this because they are programmed to do things very neatly.  I suppose you could program a robot to mimic the motion of the human hand, but that wouldn't exactly be cost-effective.  The human hand is a really good tool for this because it's hard for us to do things in a consecutive pattern.

Update 08/04/2010
You can also scatter-wind by simply guiding the wire back and fourth faster across the bobbin, thus putting more distance between each wind.

Scatter-wound pickups are more expensive because they have to be made by hand.  It also makes the pickup more unique because you can never exactly replicate what you did before, so each pickup has its own tonal character.  When Fender first started out as a company, all of their pickups were wound by hand, they are considered by many to be some of the best sounding pickups in the world.  Today they make thousands of guitars a year so naturally it doesn't make sense for them to hand-wind each pickup, but there are a few other winders out there like myself who still hand-wind every single pickup.

Friday, April 30, 2010

SACRILEGE!!!


The Telecaster is a great example of sonic perfection in its simplest form. Alder (or ash) slab body, maple neck, string-though body bridge with brass saddles, a hot single coil in the bridge and and even hotter one in the neck, 1 volume control, one tone control, and a three-position pickup selector. It is Leo Fender's first and quite possibly his finest mass produced electric guitar. It's dumbfoundingly simple and yet it produces some of the most recognizable tones in music. The Tele tone can be heard in classic recordings from The Clash, Radiohead, and The Rolling Stones. It is perfect.  It is beautiful.  It is precious.  And so I'm going to take one and screw it up.

That's right I'm going to rip out the old bridge, gouge out the wood in the body and stuff in a humbucker like you would find in a Gibson. I'm going to carve up the pickguard and cram another Gibson pickup, a P-90, in the neck. And then I'm going to rip out it's guts and rewire the whole thing. Actually it's not as bad as it sounds, and much worse atrocities have occurred to Telecasters in the past. Don't worry, this particular Telecaster is made in a foreign country and cost me $200 in a pawn shop.

Here it is in stock form

I decided to do this project because of my curiosity for the P-90 pickup. I was listening to the Stone Temple Pilots album "Tiny Music... Songs From The Vatican Gift Shop," and I noticed how incredible Dean DeLeo's guitar sound was, I had to figure out what kind of guitar he was using. Actually he was probably using a bunch of different guitars, and the tone probably has a lot to do with the amp he was using, but in this video you can see that he's playing a Les Paul Jr. with P-90's.  Anway, I figured the Telecaster, with its high sustain and bright tone, was a perfect starting point to try out this dark and raspy pickup.  I needed something equally as fat to put in the bridge position so I opted for a hot humbucker to take the place of the single coil.  This would of course require a whole new bridge and routing out the body to fit the larger pickup.

 Putting a P-90 in the neck position is the easy part.  In most Mexican and American Telecasters there is actually a rout in the body big enough for a humbucker or P-90, this is because many models are available with lots of different pickups, so they make just one body to suit many different models.  Here you can see the black spring foam I put in the neck pocket, that is there to hold the P-90 at the correct height.  The height adjustment screws go right down through the pickup into the wood in the body.  This modification obviously wouldn't work with a "Dog Ear" P-90.


The pickup I'm installing is a Deep Blue pickup that I sell for $80.  It uses Alnico V bar magnets, Nickel-plated steel pole pieces, and is scatter-wound with Formvar wire to 8.2k ohms of resistance.

Now for the tricky part.  Obviously the old bridge is not going to be able to accomidate a humbucking pickup, so I bought a Gotoh Humbucker Bridge from Warmoth.  This is a really nice piece with a 1/8" thick brass plate!  I installed the bridge and used a sharpie to mark where I needed to rout.

For a really Clean rout I used a Humbucker Template from StewMac.  Then I had to take off the template and carefully rout where the height adjustment screws would go, being careful not to go outside where the brass plate would cover. 

Here is the guitar all put together.  For routing the pickguard you can also use a StewMac template.  A table router is really not a very expensive tool, I got mine used for $50 and you would be surprised at the repairs and modifications you can do with one.  When you're ready to wire everything up check out the wiring diagrams at GuitarElectronics.com.  The humbucker I used is one of my Deep Blue Alnico II Bridge humbuckers and it compliments the P-90 beautifully.

I was really surprised at how well the P-90 works in the Telecaster.  Up until I did this project the best thing I had heard in a Tele was the USA Alnico pickups I had installed in it.  The P-90 is bass heavy, but not in a flabby way, the bass tones stay punchy.  And because it's scatter-wound the treble and harmonics come through nicely.  It also has that trademark growl that make it unmistakeably p-90.
 Shortly after this project I recorded some audio samples, you can listen to mp3 files here!