Showing posts with label how-to. Show all posts

Monday, October 20, 2014

Splitting humbucker coils

Humbuckers are essentially two single coils, side-by-side, wired in series (out of phase to "buck" the hum).  One cool feature is that you can split the coils and use them as true single coils to get a brighter, cleaner sound.  I say "split" the coils instead of "tap" the coils because that is something different entirely that gets confused often.  Coil "tapping" is having multiple leads going to the same coil to access different output values.  In order to "split" your coils, you must have four leads (five, including the bare ground wire).  Here are some common humbucker color codes:


By connecting the South finish (-) and North finish (+) you have both coils wired in series with South start (-) connected to ground and North start (+) connected to the volume lug or the switch.  The wiring diagram below shows how to wire my Apex Humbuckers to a switch like a push/pull potentiometer to switch between "single coil mode" and "humbucker mode".  You will notice that my color codes are the same as Lawrence and Gibson.


If you look at the Tele wiring diagram above you will see that when the tone control is pulled up the lower lugs are engaged and the finishes for the bridge pickup become the "hot" lead.  Ground stays at ground, that means the bridge South coil is engaged.  Simultaneously, the right side lugs connect the finishes for the neck pickup to ground, making them the negative lead.  Hot stays hot and you have the neck North coil engaged.  When the neck North and the Bridge south are used together (the middle switch position) they are hum-canceling because they are reverse polarity, wired in parallel, out of phase.  

On most humbuckers, the coil with the adjustable poles is South-up, you can check by using a compass.  The North needle will be attracted to the South-up pole and South will be attracted to North.  My Apex Humbuckers do not have adjustable poles, but North-up and South-up coils are labeled on the bottom or you can use a compass to check.  

You can have a lot of fun getting some different sounds out of your instrument just by wiring it differently.  One of my favorite websites for wiring diagrams is www.guitarelectronics.com.

Wednesday, May 26, 2010

the $20 homemade acoustic guitar pickup

How to make your own acoustic guitar pickup for cheap.  This way you can plug your guitar into a PA or an acoustic guitar amp.

Required tools:
soldering iron
electric drill
wire cutters
coping saw

Required parts:
buzzer piezo from Radio Shack (The Shack) $9
Switchcraft Nickel End Pin Jack $11
3M double-sided poster tape
1 foot of audio cable


Optional parts:
250k potentiometer
capacitor
guitar wire


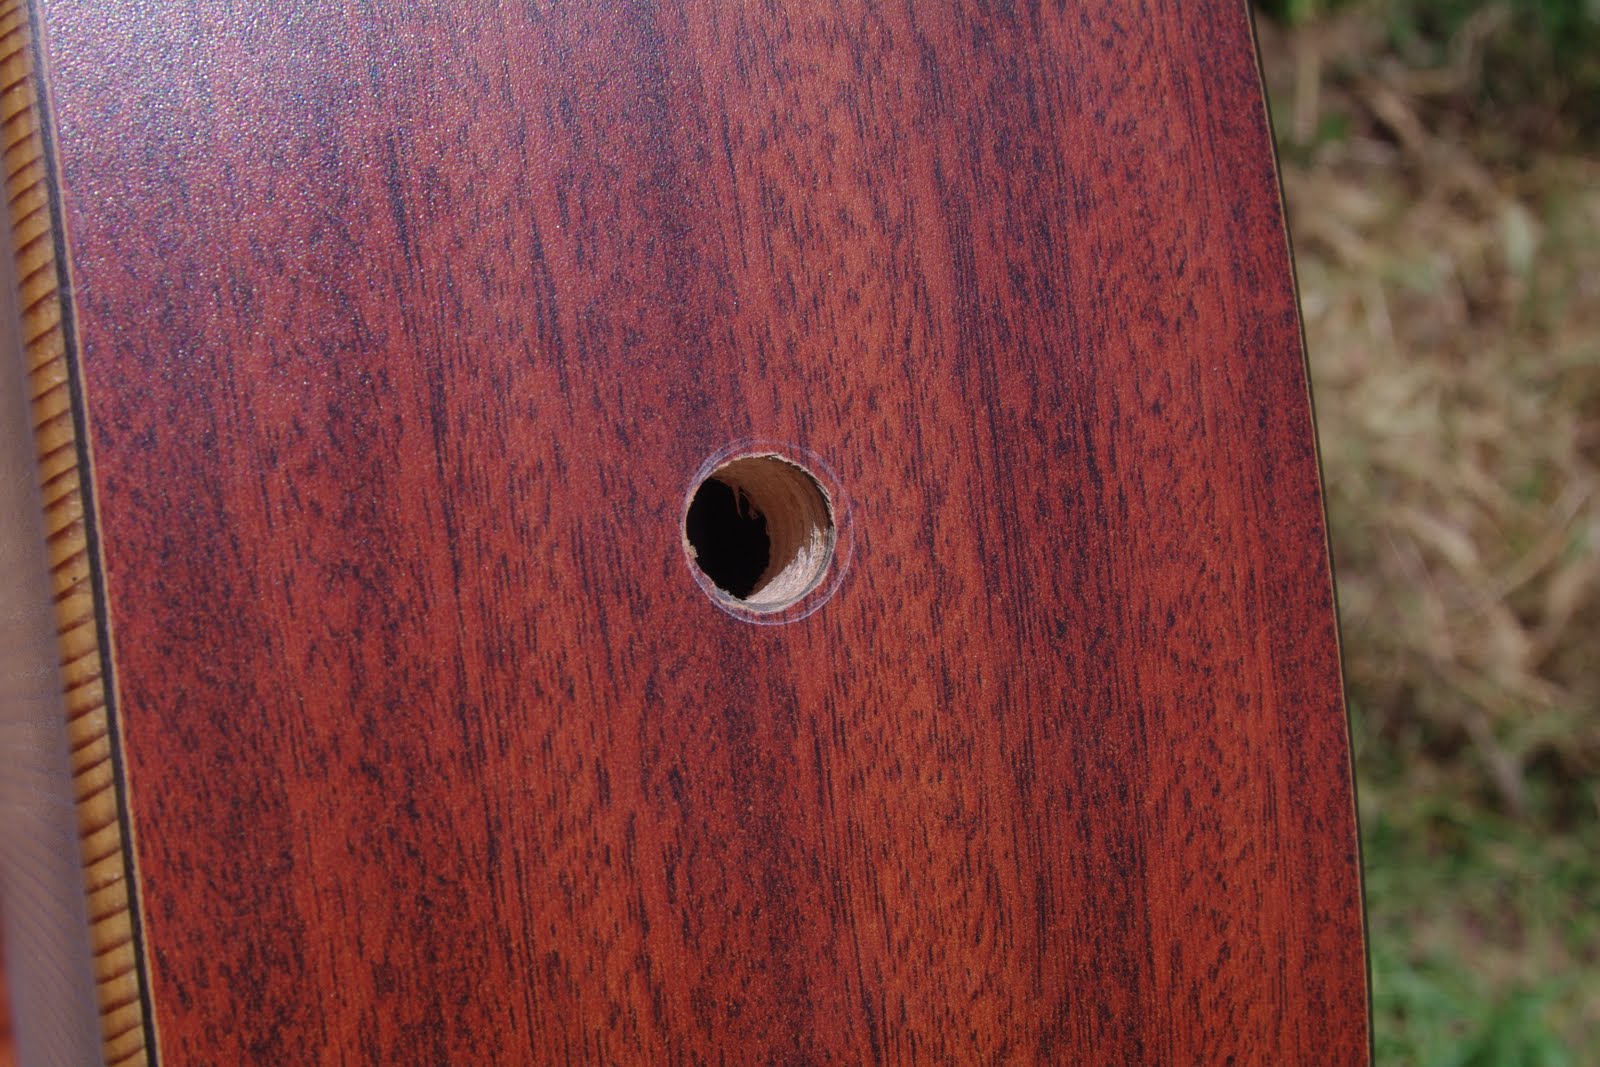
1.  Remove the strings and drill a 1/2 inch hole in the bottom of the guitar where the strap button is.  The nice thing about the Switchcraft jack is that it acts as a jack AND a strap button.  Be careful when drilling not to damage your guitar.


 2.  Take apart the buzzer.  This might require a coping saw to get through the plastic casing, careful not to damage the flat metal piezo.

3.  Solder one end of the audio cable to the piezo.  Positive is the top ring, negative (or ground) is the large bottom ring.   The two plates are separated by crystals, when given a current the produce a noise, when given a vibration they produce a current, we will be using the piezo for the latter.


4.  Solder the other end of the cable to your jack, positive is where the tip connects in the jack, negative is the sleeve or ground.


5.  By nature, the piezo is a very bright-sounding pickup for an acoustic, so we'll be using some 3M double-sided poster tape to attach this thing to the underside of the bridge.  Because it is made of thick foam it dampens some of the brightness.  Stick a piece of it to the top and bottom of the piezo.  Mount the bottom of the piezo to the underside of the bridge.  Then install the jack in the bottom of the guitar.


You could use the pickup just the way it is, but I chose to have a tone control to get a little warmer sound out of it.  Use the following wiring diagram to solder a tone control into your circuit (advanced skills required)


I chose not to drill another hole in my guitar for the tone control so I used some more of that poster tape on the back of the tone control and stuck it just out of sight in the sound hole, if I need to adjust tone at any point I can just do it with my fingertips through the sound hole.


Reinstall the strings and test it out!!